Reverse Sear Grilled Hamburgers
Though it's not summer yet, these grilling hamburgers tips should get you salivating plenty early this year. My friend Roger Williamson is introducing his take on grilled hamburgers with an extra special technique known as the “Reverse sear”, a great way to grill burgers!
Reverse Sear Grilled Hamburgers
Nothing says summer to me like a sunny day at the lake, a great group of friends, a few brewski’s and burgers done on a Charcoal BBQ. I remember growing up the smell of the charcoal, and to this day it makes my mouth water and my belly growl. I also remember the burgers always had a hint of gasoline and where crispy burnt on the outside, let’s just say my tastes have evolved.
Charcoal BBQing has evolved as well, no longer is lighter fluid preferred means of lighting your coals (the gasoline taste), and neither do you put the whole bag into the kettle ( which would create a single zone of extreme heat resulting in the burnt burgers). But they did get something right, they always started with fresh ground beef and this recipe takes the best of all and brings it together.
The key components of a great burger are, freshly ground beef, a little flavor, a variety of toppings and good buns. Everybody likes good buns. Here is my take on the classic grilled burger.
This recipe is based on 6 burgers and 2lbs of freshly ground medium beef, add more as appropriate depending on how many folks you are making for. This recipe is not for those on a diet, but those who love a great flavorful burger. And obviously you can do this on a gas grill as well, but the flavor is just fantastic on a charcoal.
Ingredients:
2lbs Freshly ground medium beef – use medium or regular, as the more fat the better the flavor and juicier they will be
2 heaping tablespoons of saved bacon fat – this adds incredible flavor to the burger, even better if it is maple smoked bacon fat
Pinches of Salt, Pepper, and Onion powder
A Dash of Worcestershire
Make sure your hands are washed and put the ingredients in a bowl, thoroughly mix together and make 6 patties out of them and place them on wax paper. Let them sit for 30 min in the fridge before putting on grill.
Buns – if you don’t have a local bakery nearby check and see what they have for “gourmet” buns in the local grocery store. They make a big difference over the mass produced pack of 12 you see everywhere.
Fresh toppings – lettuce, pickles, Sweet Vidalia onions, local tomatoes, and bacon (maple smoked if you can find it)
Set up the grill
Set the grill up for 1 side high heat and the other side low. If using charcoal, light the charcoal with a charcoal chimney starter to avoid using lighter fluid. Here is where we do something out of the ordinary; it’s called the “reverse sear”.
The “Reverse Sear”
The reverse sear is a technique you use to keep tenderness and juiciness to the burgers. When burgers are cooked over direct heat until done they can turn out dry, and we want to avoid that. We need to ensure the meat is cooked to 160F for safety reasons, but we don’t want to lose all that juicy goodness. The “reverse sear” will ensure that.
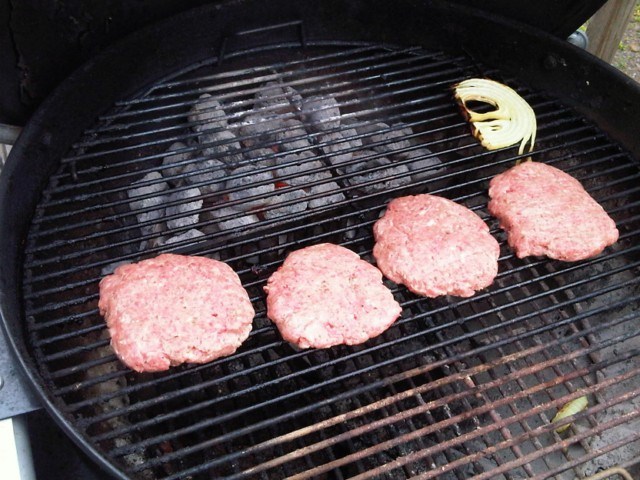
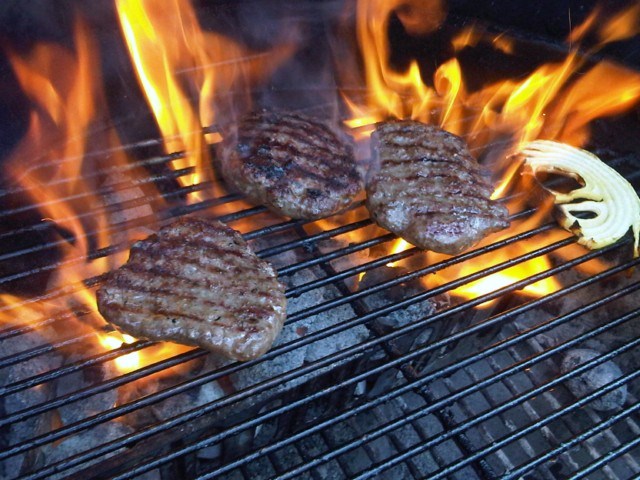
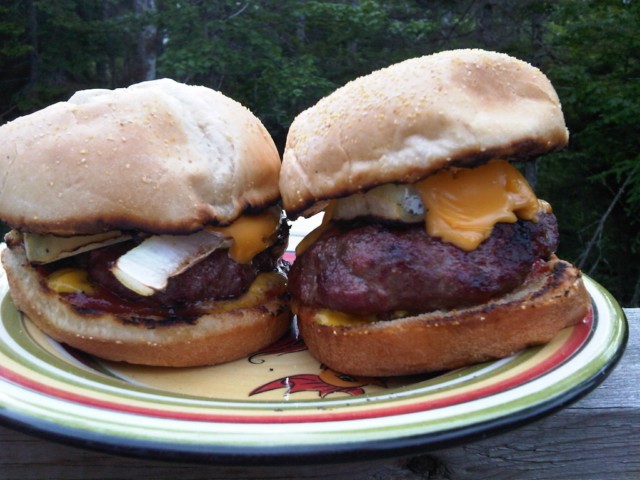
Place the burger patties on the low heat side of the BBQ, put the top down and wait about 4 min until the pink burgers have turned grey. At that point move them to the high heat side and sear the outsides. Once they are properly seared on the outside, move them back to the low heat side, place onions, cheese, bacon or whatever else you want on them and wait for the cheese to melt. In the mean time, toast those buns on the high heat side, for a little extra flavor; spread some butter on them before you toast them.
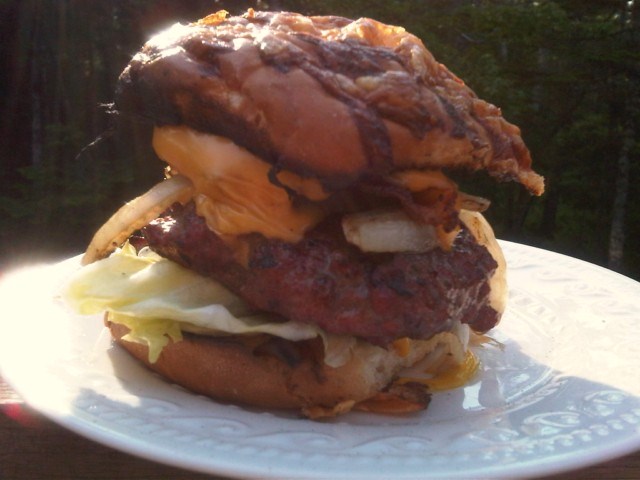
Once the cheese is melted and the buns are toasted, bring them together with your favorite toppings and enjoy!
 Roger is a professional technology geek, a father of 3, husband of 1 and an avid live fire cooking enthusiast who spends his free time in Fall River cooking outside. If you have any questions send me an email FallRiverBBQguy@gmail.com or follow me on twitter @Ragaa
Thank you Roger!
Love those “Reverse Seared burgers you grilled! We are all hoping to see many more great cooking outdoors tips, tricks, techniques and recipes from Roger in the near future. Drop him a line or visit him on Twitter to tell him “More”!
Great article Roger thank you for sharing. Looking forward to more of them.
For a bit more control, and a more fail safe method, I put them in the oven for 15-20 min on low heat (200-225 F). Meanwhile I get a scorching hot grill going. After burgers are cooked to a perfect med-rare, (check with thermometer for desired doneness) blast them on the grill for 30 seconds, each side. Best burgers I’ve ever had.