Rib-O-Lator Rotisserie Product Review – Box opening and setup
While the boneless baby back ribs and chicken are defrosting, I thought I would share with you my first impressions of the Rib-O-Lator rotisserie accessory. I met Bob of Rib-O-Lator.com this past May at the National Hardware show. He was meeting with customers and vendors to talk shop and share his invention the Rib-O-Lator. During the course of our shoptalk, he offered to send me a unit for review, which I gladly accepted.
My step-dad used a rotisserie back in the days and I just love the results of grilling on a rotisserie these days. Rotisserie cooking just packs in the flavors and is stellar at retaining the maximum amount of juices during the cooking process. Quoting the front of the Rib-O-Lator box: “Everyone knows rotisserie food tastes the best!” yep, I'll have to agree to that exclamation.
A quick note about the Rib-O-Lator, it does not come with the rotisserie itself, it is an accessory that attaches to your existing rotisserie spit.
First impression: You can cook a ton of food on the Rib-O-Lator!
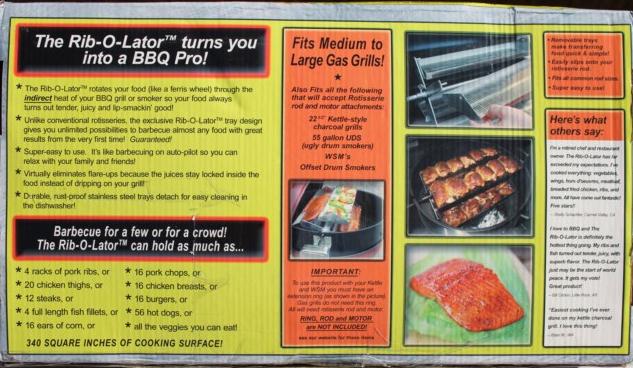
Besides the fact that you can use this on any grill you have, from the UDS (Ugly Drum Smoker), Weber Smokey Mountain, Weber kettle, open pit grill, charcoal grill and gas grill to give you a few ideas. It also can grill 4 racks of ribs, or 20 chicken thighs, or 12 steaks, or 4 full fish filets, or 16 ears of corn, or 16 pork chops, or 16 chicken breasts, or 16 burgers, or 56 hot dogs, oh my!
With 340 square inches of stainless steel cooking surface revolving around and around, slow cooking your food to perfection in your grill, how can you go wrong?
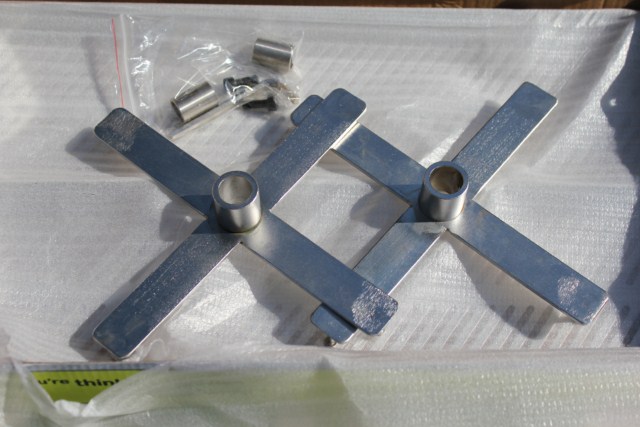
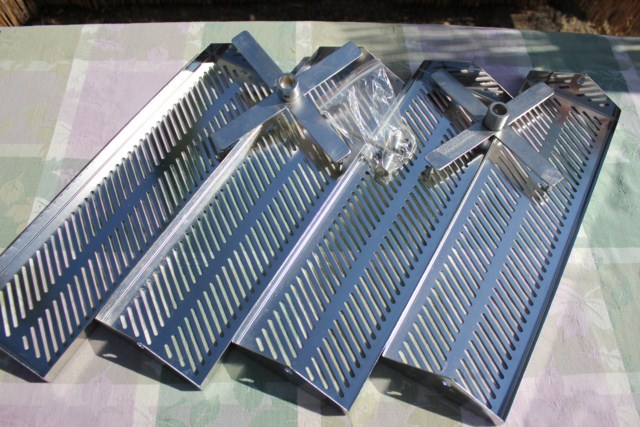
Six pieces make up the Rib-O-Lator, plus a couple of screws, adapters and a hex key to tighten the Rib-O-Lator on the rotisserie spit. Four stainless steel cooking trays and two rotisserie brackets make up the main components; it is a brilliant design keeping everything un-complicated. The cross brackets are what makes everything work with their pins to hold the trays.
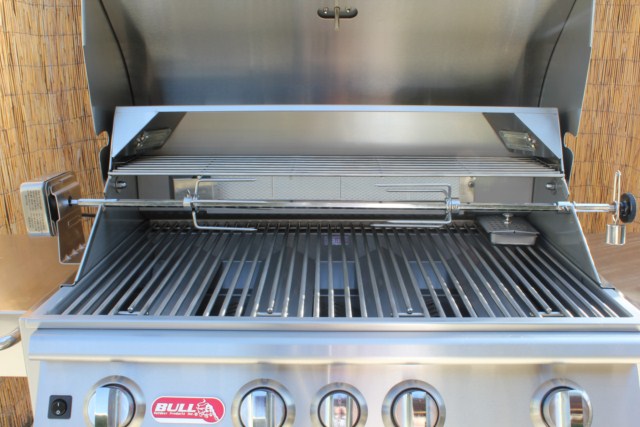
I am using Bull BBQ “Angus 5 burner stainless steel rotisserie grill”. What a sweet unit this is! (I'll have a video review of this and their charcoal grill up soon.)
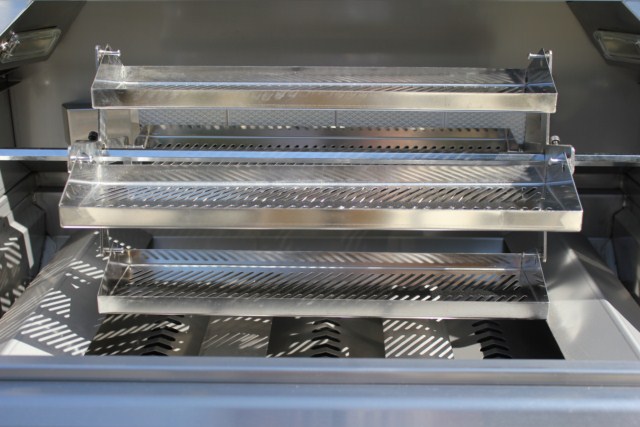
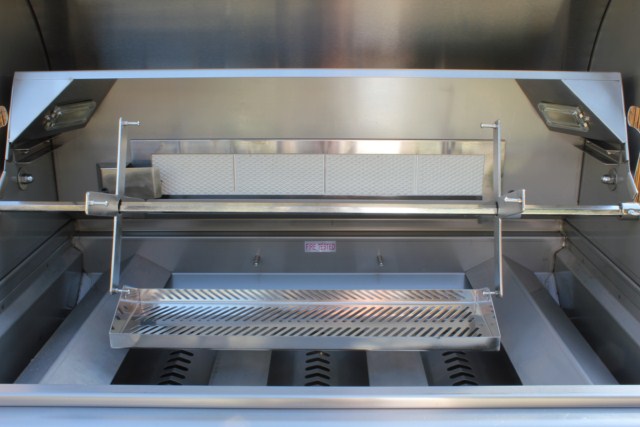
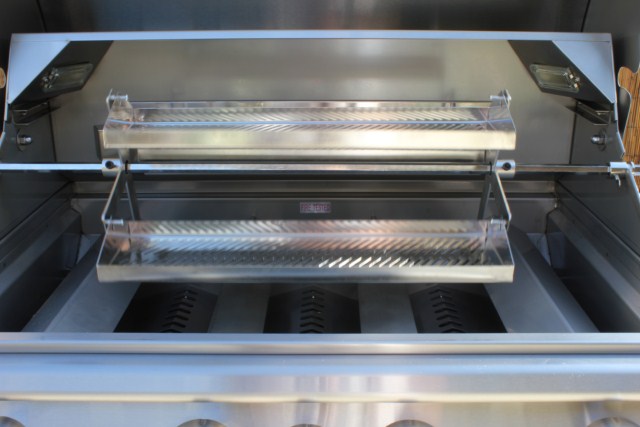
Initial set-up was simply simple, slide the two cross brackets on and attach the first tray to the pins on each bracket. (Note: the Rib-O-Lator owner’s manual suggests you set everything up before you attach the spit to the grill). As you can see here I removed the two burners covers and the grill grates from the BBQ to allow enough clearance for the Rib-O-Lator to revolve freely.
Note: You need 5-5/8” of clearance from the rotisserie spit to the bottom of the grill burner covers.
Attach the remaining Rib-O-Lator trays, tighten the two hex screws to secure the unit on the rotisserie spit and test for clearance by turning on your rotisserie motor.
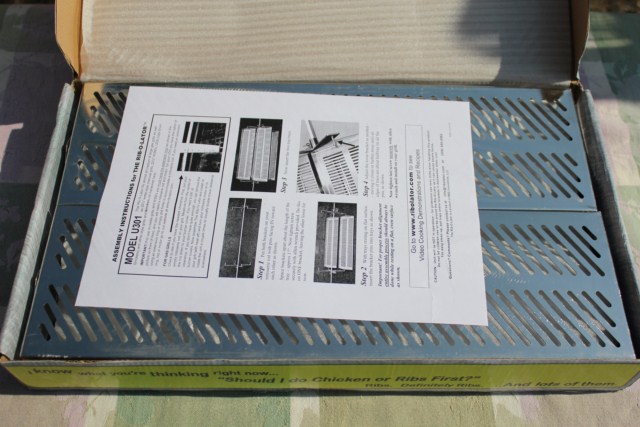
Overall, my first impression with the quality is very high. Super easy to assemble and install with the assembly instruction that come with the unit, they include pictures for us technically challenged. A nice bonus was the additional cooking info supplied on the back of the assembly instructions that include How to cook ribs, cooking tips for the Rib-O-Lator and general cooking times, a nice touch to help get you started.
This weekend will be the big test, 5 boneless chicken breast and 4 lbs of boneless baby back ribs seasoned and sauced to perfection, perfect for the football games on Sunday! Can’t wait…
Rib-O-Lator product review part 2 is here: http://www.cooking-outdoors.com/rib-o-lator-rotisserie-product-review-grilling-ribs-and-chicken.html
Visit Rib-O-Lator.com for my product information and available products.

