Rib-O-Lator Rotisserie Product Review – Grilling Ribs and Chicken
With 5 boneless chicken breast and 4 lbs of boneless baby back ribs officially grilled and consumed, I would say that the first Rib-O-Lator test can be concluded. But before I give you my thoughts about grilling with the Rib-O-Lator, I must define “Boneless Baby Back Ribs” as this may confuse some people. They were actually “Pork Loin” Boneless Baby Back Ribs, not “cut out from between the rib bones” as my son asked me. They are actually from the Pork Loin, which is sliced in half vertically, and then again lengthwise, in the case of my purchase they were cut in rib-let shaped sizes.
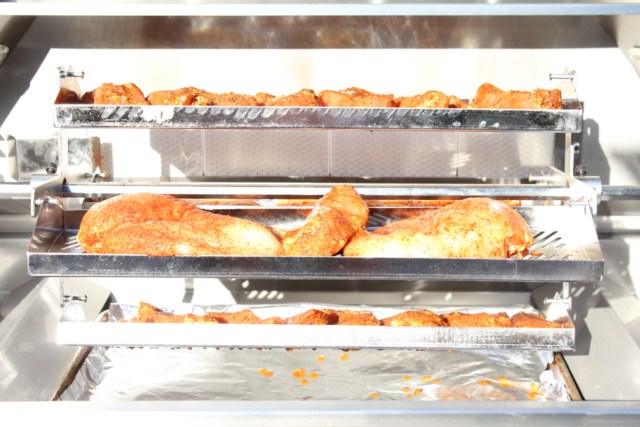
Loading the Rib-O-Lator after the initial set-up was a breeze. I started out with a row of boneless baby back ribs, turned on the rotisserie motor for just a second to rotate the next tray towards me and then loaded some chicken, repeat, etc. No issues with the loading of food but a tip would be to balance the food on the trays as you load them up. Like anything on a pivot point, they will lean towards the heaviest side and I was multitasking holding the marinated ribs and chicken bag, Rib-O-Lator tray and tongs with only two hands.
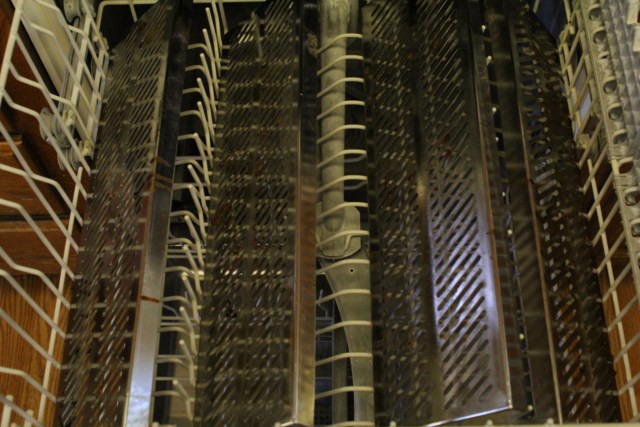
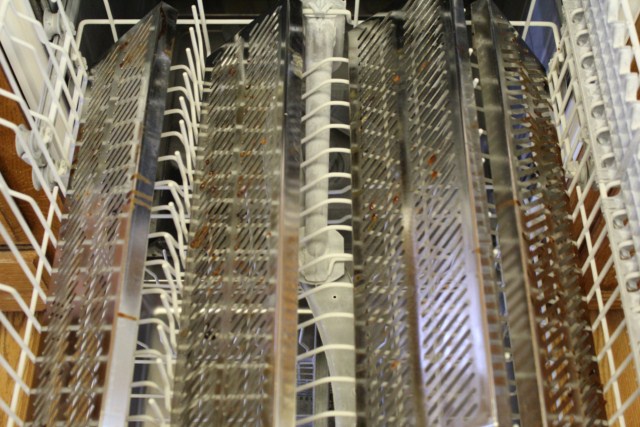
My main concern was after dinner when I had to clean everything up. The butler and house cleaner having Sundays off, left me with the clean up and those Rib-O-Lator trays were a saucy mess. I simply remove the trays from the cross brackets and set them in the top tray of the dishwasher. The pictures do not show the inside of the tray (I was not too creative there) so you cannot see the greasy mess coating them but I know you have imagination. I set the dishwasher on power scrub and those trays cleaned up very nicely.
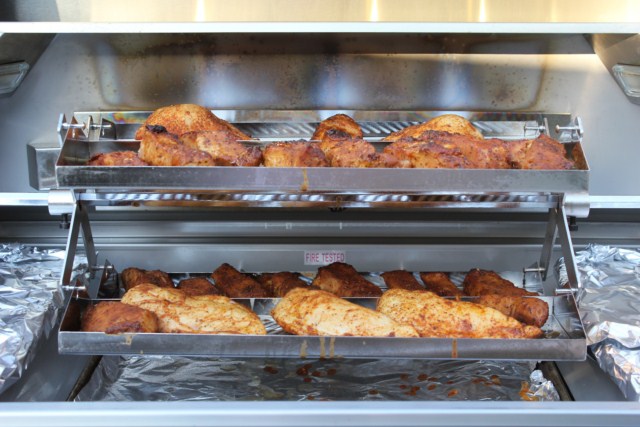
Once my trays were fully loaded and I do mean fully, I fired up the Bull BBQ Grill rotisserie burner and flipped the rotisserie motor switch on, open a cold beer and waited. Well, I peaked a lot, so I did not wait too patiently during the grilling process. The picture above is at the half waypoint, nicely grilled, juicy and smelling amazing. One of the trays was starting to lean a little too much for my comfort, so I adjusted the meat to re-balance the weight. This was not the time to lose a tray or two of food because I racked the food improperly.
The Rib-O-Lator trays worked perfectly during the grilling process, held a lot of food (at least 6 lbs of meat) and made my grilling experience effortless. We had friends over for dinner that night to share the experience and they were amazed by the Rib-O-Lator on the grill, so the wow factor is fun also.
Notice the tray I added below to catch all of the dripping? There was not much in that tray when I was done grilling, rotisserie grilling retains most of the juices from the heating method and minimal handling. This also kept my grill squeaky clean. I added a couple loaves of garlic bread on the sides to maximize the grilling space.
My main concern was after dinner when I had to clean everything up. The butler having Sundays off, left me with the clean up and those Rib-O-Lator trays were a saucy mess. I simply remove the trays from the cross brackets and set them in the top tray of the dishwasher. The pictures do not show the inside of the tray (I wasn't too creative there) so you can't see the greasy mess coating them but I know you have imagination. I set the dishwasher on power scrub and those trays cleaned up very nicely.
Only the top sides of the trays were not cleaned very well after running through the power cycle in the dishwasher (next time I will rack them on their sides).
So, my final thoughts on the Rib-O-Lator:
- It works as advertised, really much better than I expected. It was extremely easy to set-up, operate and clean. With only six basic parts in this kit, you can't get easier than that!
- The price seems right at only $99.95 plus s&h from the Rib-O-Lator website.
- It holds a massive amount of food, that might not interest you but the reality is you can use the Rib-O-Lator to grill your meat, vegetables, breads and possibly deserts all at once saving grill space and time.
- I will use it again.
- The chicken and boneless baby back ribs were moist, tender and cooked evenly.
- Rib-O-Lator rotisserie accessory has several accessories that support the unit and a new expandable tray version for larger grills.
I tried to find some negatives to balance out my review, the pros and cons, but I would be digging deep to find any issues. You do need to have a BBQ Grill with a rotisserie attached to use the Rib-O-Lator, if you don't they do sell several rotisseries available that will set you up fast and have you grilling the same day your Rib-O-Lator arrives.
Part one of this review can be found at: http://www.cooking-outdoors.com/rib-o-lator-rotisserie-product-review-box-opening-and-setup.html
Enjoy!


